The Wall Comes First: A Practical Guide to Pictures and Mirrors in British Houses
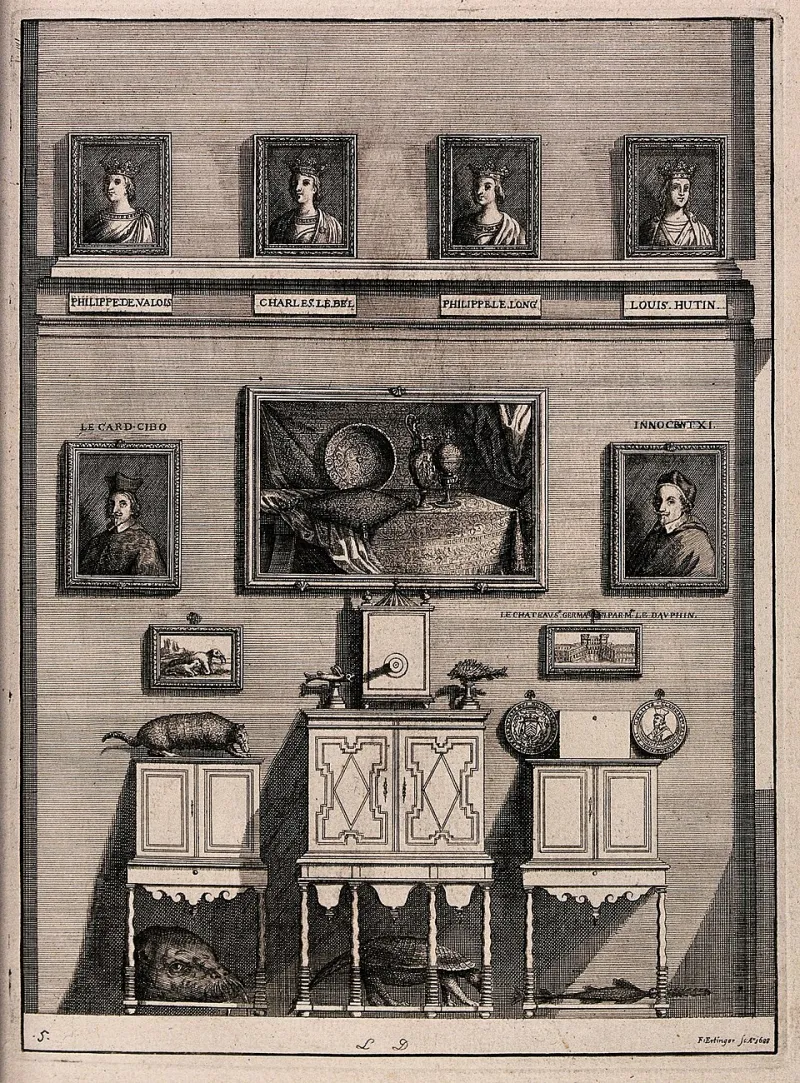
Photo: Unknown, CC BY 4.0, via Wikimedia Commons
There is a particular moment in every decorating project when the walls are painted, the sofa is in place, and the room still feels as if it is waiting for something. Usually, that something is on the floor, leaning against a skirting board: a framed print, a mirror, a pair of pictures you have moved from room to room for years. Hanging them can feel oddly final. One wrong drill hole in a Victorian wall and you are left with a crater, a dust sheet and a quiet sense of defeat.
The good news is that hanging pictures and mirrors is not a mysterious skill. It is mostly a matter of looking before you drill. British homes have a broad mix of wall constructions, often within the same house, and the fixing that works in a modern new-build may be entirely wrong in a 1900s terrace. Get that part right and the rest, from height to arrangement, becomes much more enjoyable.
First, find out what your wall is made of
A gentle tap with a knuckle or the handle of a screwdriver tells you more than you might expect. A hollow, slightly papery sound often points to lath and plaster, common in older houses. These walls are built from thin timber strips covered in several coats of plaster. They are strong enough for daily life but can crack and crumble if you ask too much of the plaster alone.
A more consistent hollow sound, especially in a newer home, may be plasterboard. Many modern walls are dot-and-dab plasterboard, fixed to the wall behind with adhesive dabs rather than a full timber frame. They are fine for lightweight pictures, but heavy mirrors need a fixing that reaches something structural or spreads the load behind the board.
Thermal block walls, often found in newer builds and extensions, are made from lightweight concrete blocks. They can feel solid but crumble easily when drilled. Solid brick and stone are the old faithfuls: hard work to drill, but reassuringly direct once you have the right bit.
If you are unsure, use a stud finder and a magnet to look for screws or nails. In older homes, the timber studs are rarely where you expect them to be. It is also worth checking for cables and pipes before any drill goes in, particularly around radiators, light switches and chimney breasts.
The right fixing for the job
For plasterboard, avoid relying on a plain screw unless you have found a timber stud. Lightweight frames can use self-drilling plasterboard fixings, but check the packet for the weight limit. For anything heavier, a cavity fixing or toggle bolt spreads the load behind the board. These are widely available and much more reliable than a hopeful rawl plug in hollow plaster.
On lath and plaster, the safest approach is to fix into the timber studs. Use a wood screw long enough to bite into the timber without emerging on the other side. If there is no stud where you need one, a toggle fixing can work, but drill slowly and carefully to avoid blowing the plaster. A picture rail is a genuine asset here: hooks and cord take the weight without touching the plaster field at all.
For thermal block and masonry, use nylon wall plugs and screws matched to the drill size. Do not overtighten, especially in thermal block, or you can enlarge the hole and lose grip. As a rough guide, anything above 10kg deserves a fixing that goes into timber or masonry, and heavy mirrors should always have two properly rated fixings rather than one heroic screw.
Heights, spacing and the sofa question
A useful starting point is to hang the centre of a picture or mirror around 145cm to 152cm from the floor. That sits close to average eye level and stops artwork from floating towards the ceiling. Above a sofa, leave roughly 15cm to 25cm between the top of the sofa back and the bottom of the frame. Above a sideboard, 15cm to 20cm is usually enough. The aim is for the furniture and the wall to feel connected, not for the picture to hover nervously out of reach.
Before drilling, cut paper templates to the size of each frame and tape them up. Live with them for a day if you can. This is especially useful in a living room where a large mirror may compete with a window or a television. For a group arrangement, keep the gaps consistent, usually around 5cm to 8cm, and choose one anchor piece rather than making every frame the same size. Odd numbers often feel more natural, but symmetry works well above a sideboard or a fireplace.
Mirrors need a little more thought
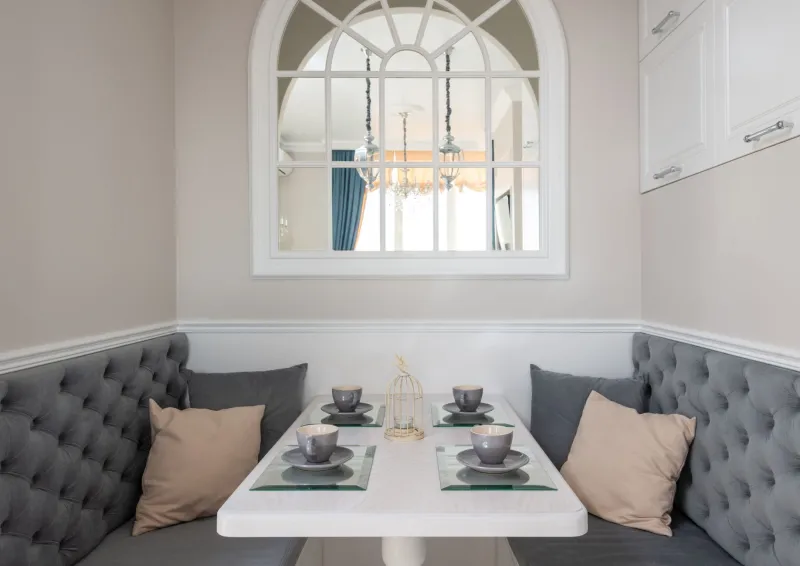
Mirrors are heavier than they look and often have less forgiving frames. Use two fixings, even for a modest mirror, and check that the hanging wire or D-rings are rated for the weight. A mirror opposite a window will bounce light into a darker corner, which is a quiet win in a north-facing room. Avoid hanging one directly above a radiator if you can; the heat and dryness are not kind to some frames and backing boards.
In rented homes, adhesive strips are fine for lightweight frames, but remove them slowly and follow the instructions. For anything substantial, ask first. A deposit-safe picture ledge can carry several small frames without a single hole, and a large mirror can simply lean against a wall if it is secured at the top.
A final five-minute check
Once everything is up, give each fixing a gentle tug, check the frame is level and make sure no cables are trapped. Step back into the doorway and look at the room as a whole. The best wall arrangements do not announce themselves. They simply make the sofa look more settled, the sideboard more purposeful and the room more like yours.
Hanging art and mirrors is not about being fearless with a drill. It is about being curious about the wall in front of you, choosing the right fixing and giving yourself permission to move a frame six inches if it feels wrong. The walls can take it. With a little care, so can you.